Change ListA list of changes made to this document.
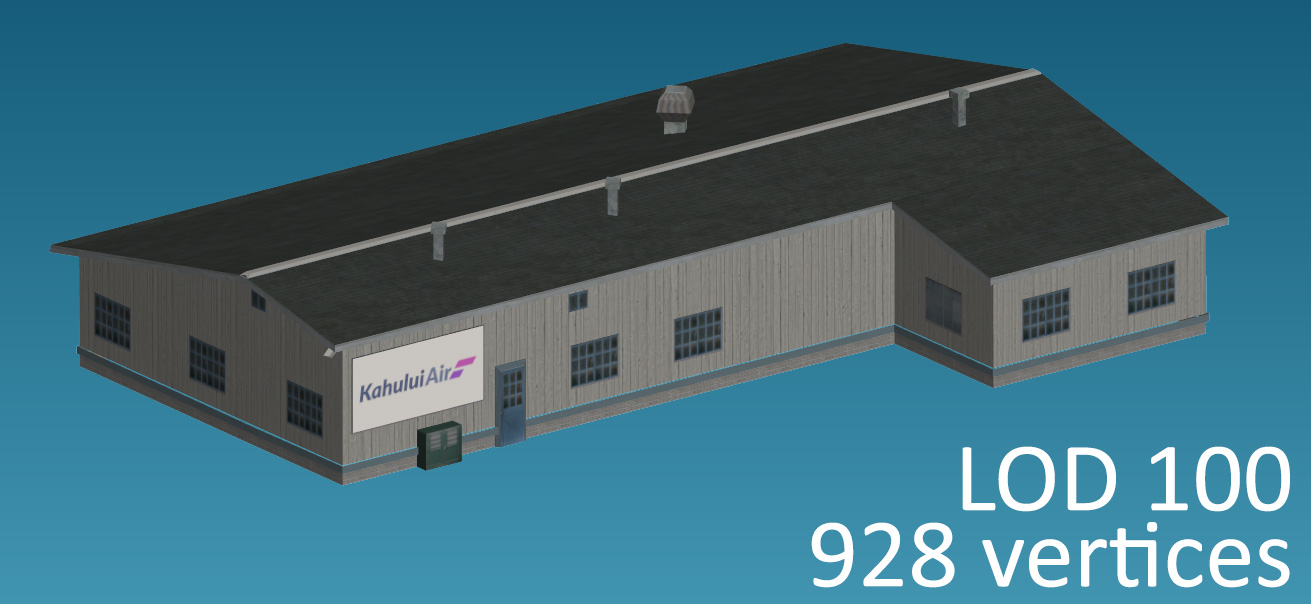
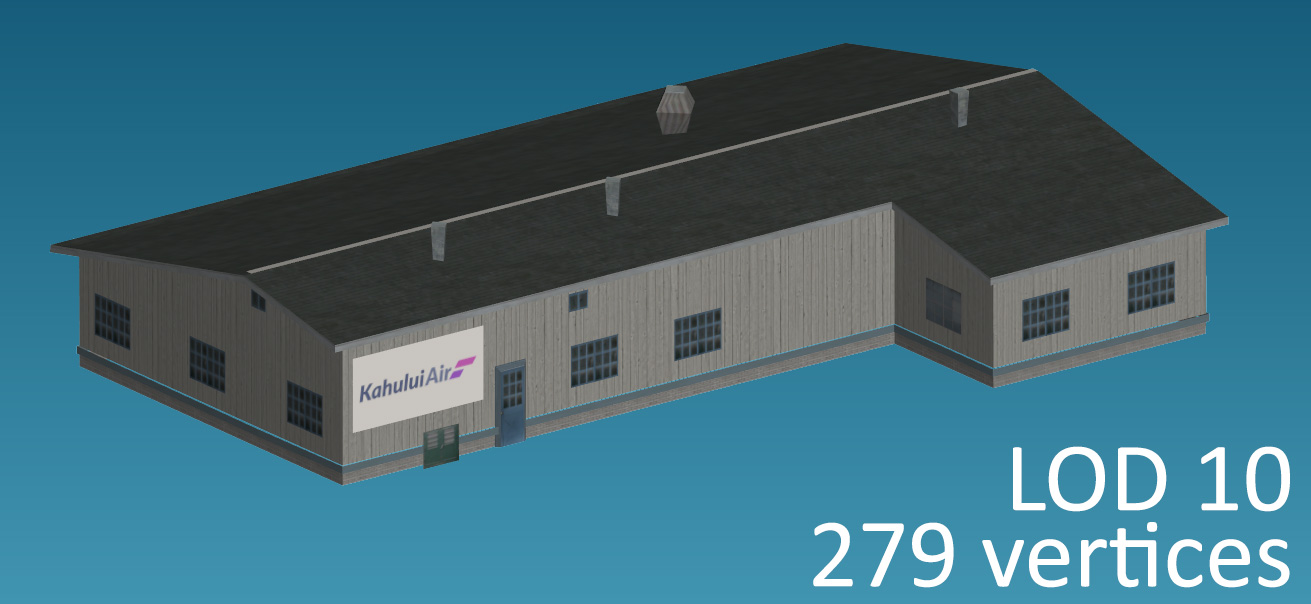
IntroductionThis document describes specifics for creating scenery objects. The Modelling Practices section of the Aircraft Primer apply to environment art and should be read first. Some of the ideas laid out here are preliminary and subject to change. All important changes will be clearly indicated in the relevant sections. Feedback from external teams utilising this document is both appreciated and encouraged. Workflow ConsiderationsThough FSW is capable of handling a greater amount of vertices than before, as described in the Command-line Tools section, scenery objects should still be designed conservatively. LODsLevel of detail models should be created for scenery objects, following the LOD authoring guidelines. However, less LOD levels are required to achieve the same performance gains as with aircraft. An example scenery object, the 25x15m 'Kahuhlui Air' building, has the following LOD levels and vertices count:
The level of detail degradation required for lower LOD levels is achieved by removing back-facing polygons, edge loops and progressively phasing out smaller details that do not affect the silhouette of the building. Scenery objects also require no root 'exterior' node, as illustrated in the following image: 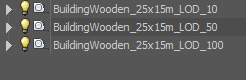 Creating Assets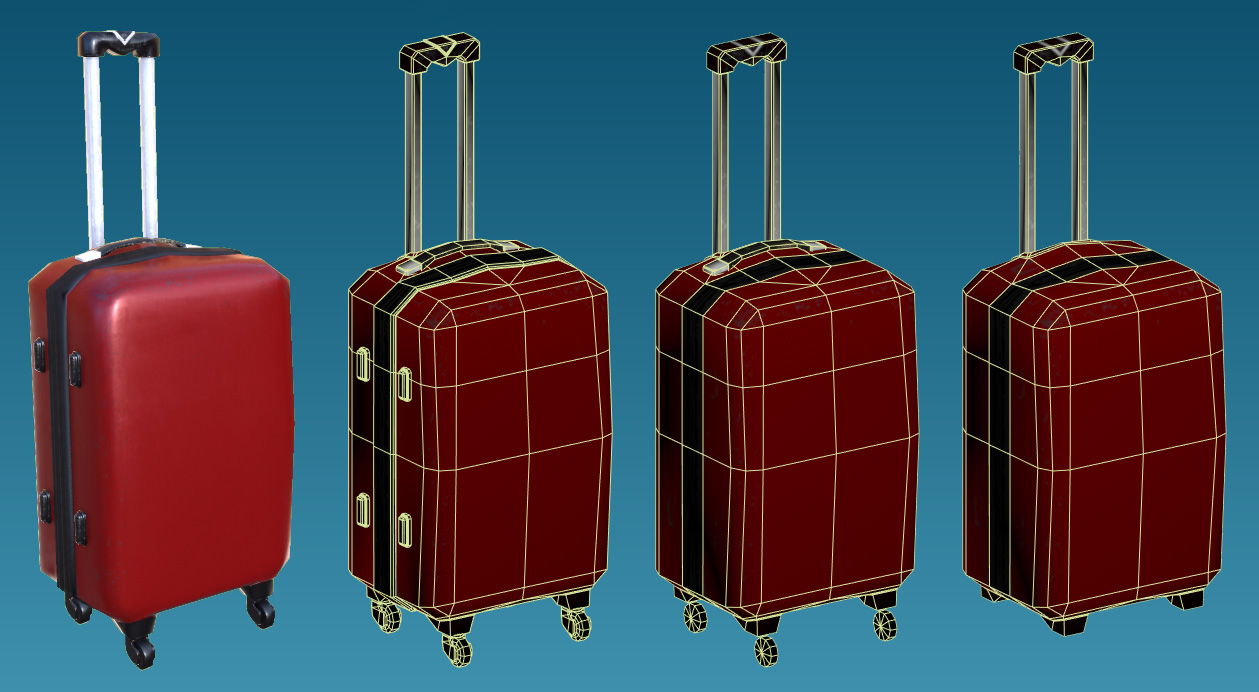 Scenery assets use the same workflow methodology as with vehicles. The same UVW mapping, baking, texturing and general artistic concerns all apply. However, certain aspects such as high poly modelling and where to apply finer details differ depending on the subject or end-us of the scenery asset. Use of effective normal and combined maps will have a significant bearing on the believability of an object. Buildings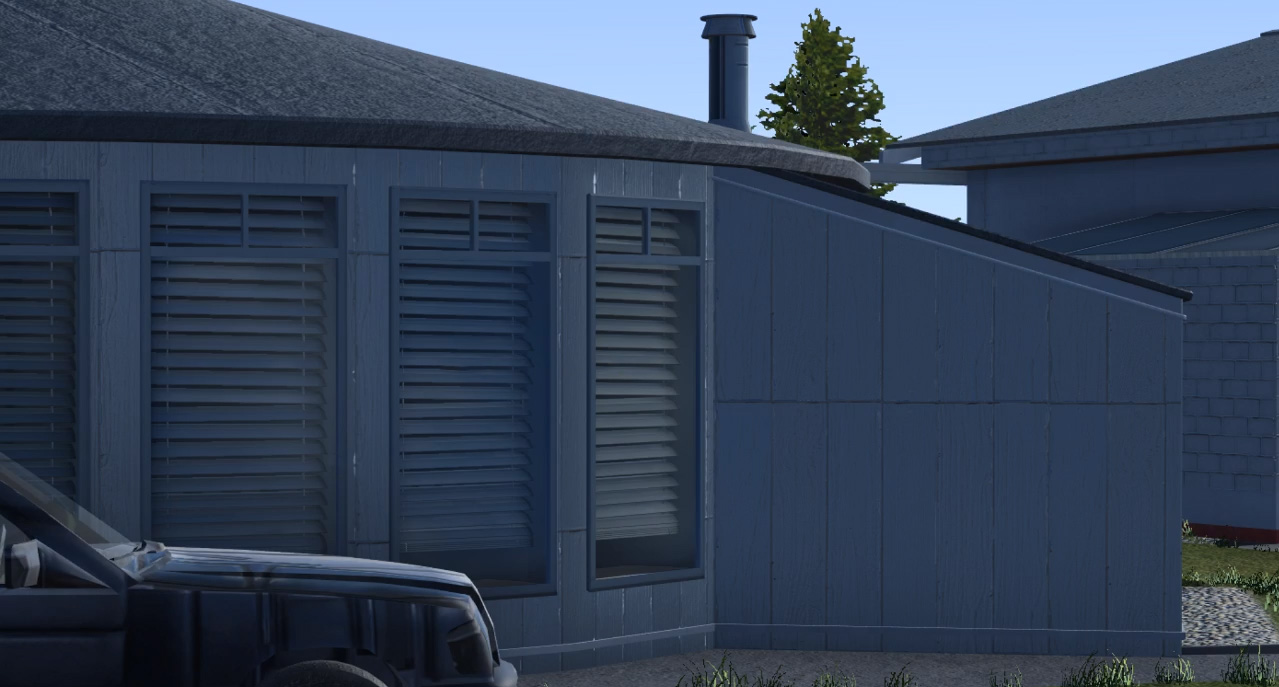 Buildings should be authored with a mid to close view perspective in mind. Repeating textures can be hidden and large surfaces made interesting through intelligent use of detail objects, for example drain pipes, guttering and windows modelled in detail. Buildings should be authored with a mid to close view perspective in mind. Repeating textures can be hidden and large surfaces made interesting through intelligent use of detail objects, for example drain pipes, guttering and windows modelled in detail.The image to the left demonstrates a window with depth. The window aperture is represented using geometry instead of being a simple window texture on a polygon. The glass uses transparency; the mesh behind using ambient occlusion to add to the feeling of depth. Blinds are represented using geometry also, taking care to capture subtle inaccuracies in surface details and edge angles. Emissive maps should be used so at night the 'rooms' behind the windows appear to be lit. As with any other asset for FSW, LODs are important. Details can be aggressively scaled back for lower LOD levels. Objects 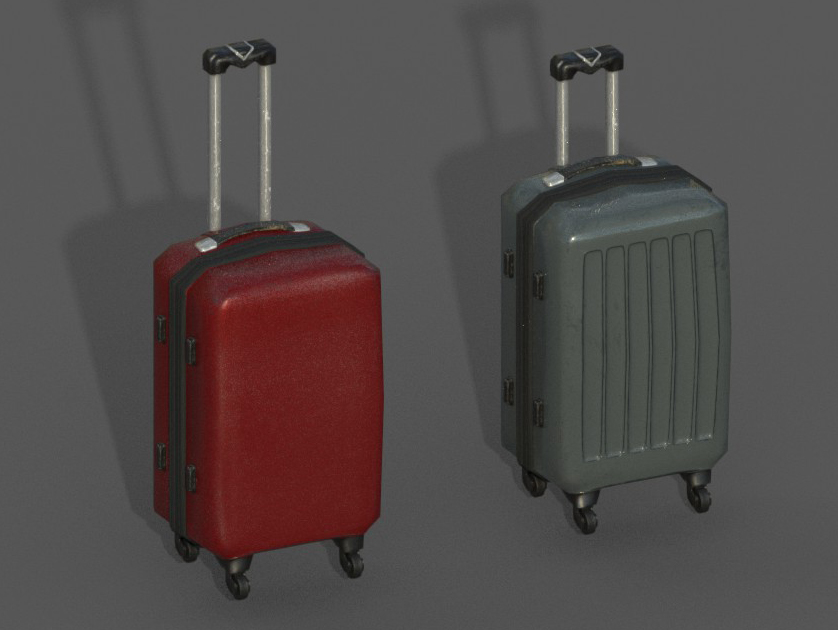 Objects are used for scenery dressing or to add interest in missions. As such they do not need to be overflowing with tiny details or have incredibly high polygon meshes. Correct use of a normal map can make a very efficient and low polygon model seem a lot more detailed than it actually is. The suitcase objects in the image to the left are in fact only 460 polygons each. A detailed high-poly model was used to bake details onto a normal map, creating the detail seen. The object has small details depicted through the normal map, such as a zip seam, case deformations, rubber feet and the raised details on the grab handle. LODs are extremely important in achieving good performance with a detailed, small object. At 10 screen pixels an object need not be 500 polygons. Refer to the LOD section for more details. Airfield Surfaces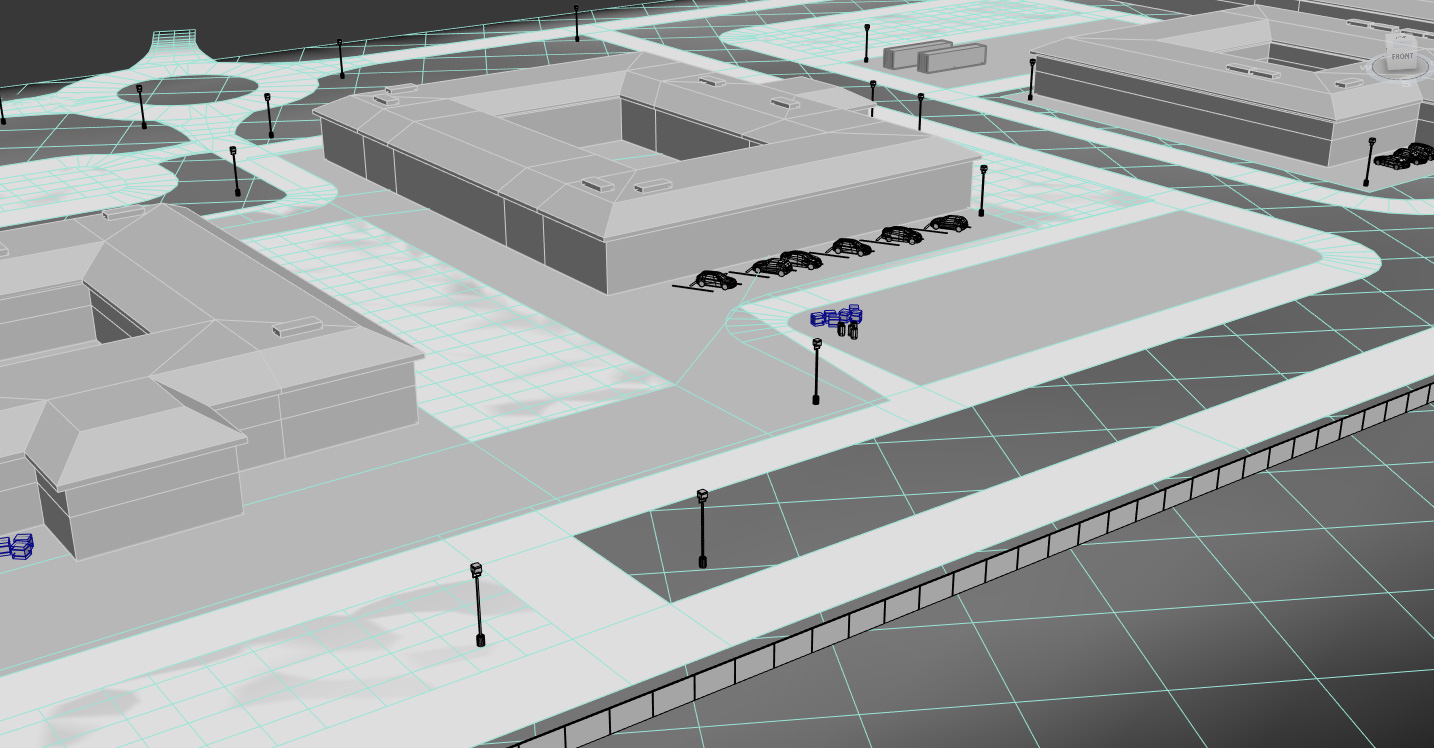 Detailed airfield surfaces can be created by layering multiple levels of geometry. Runway markings can be depicted at a much higher resolution using geometry and effective use of materials than if they were painted onto a 'ground' texture. Detailed airfield surfaces can be created by layering multiple levels of geometry. Runway markings can be depicted at a much higher resolution using geometry and effective use of materials than if they were painted onto a 'ground' texture.Z-fighting issues can occur with overlapped polygons. Refer to the Z-bias section of the 3ds Max Plug-in documentation for more information. Export WorkflowThe export workflow for a scenery object is very similar to that of an aircraft, the key difference being the format of the compiled asset. Scenery objects must be exported as .x files, converted to an MDL and then compiled into a BGL. Importance of Friendly Names & GUIDs Though friendly names and GUIDs should be applied to any individual art asset created for FSW, they are especially important with regard to scenery objects. No two scenery objects may share the same values, else errors and confusion will occur when trying to select the asset for use in-editor. Exporting from 3DS Max & Creating the MDL
From MDL to BGLWhether compiling a single MDL into a BGL or compiling multiple MDLs into a library BGL, the methodology is the same.
A compiled BGL file will be created in the same directory as the library XML. Proceed to the Placing Assets section below. Placing AssetsWith the BGL library created it is time to place the objects into the world.
The previously compiled BGL file will be updated to include placement data. It can now be placed into the simulator: (BGL files)
Anatomy of the Library XML
Anatomy of the Placement XML
|
Scenery >